Pro Lab Prints vs. 1-Hour
July 15, 2019
After a session with a beautiful family, we got this email “I always get my photos printed at *****, and I’m very happy with what they do there. However, our faces look greyish/green and the colors are just all so dark.” (We aren’t telling you the name of the lab but they have cheap pizza also). This hurts our heart. We want our clients to be able to PROUDLY display the images that we take and not look like aliens. We also want to come over and not cringe when we see a photo we’ve taken on your mantle and it’s fading or sticking to the glass of the frame.
After a shoot, we spend time uploading, selecting and editing ever image that you see. The editing process can include retouching blemishes and cropping but always, always involves color correction.
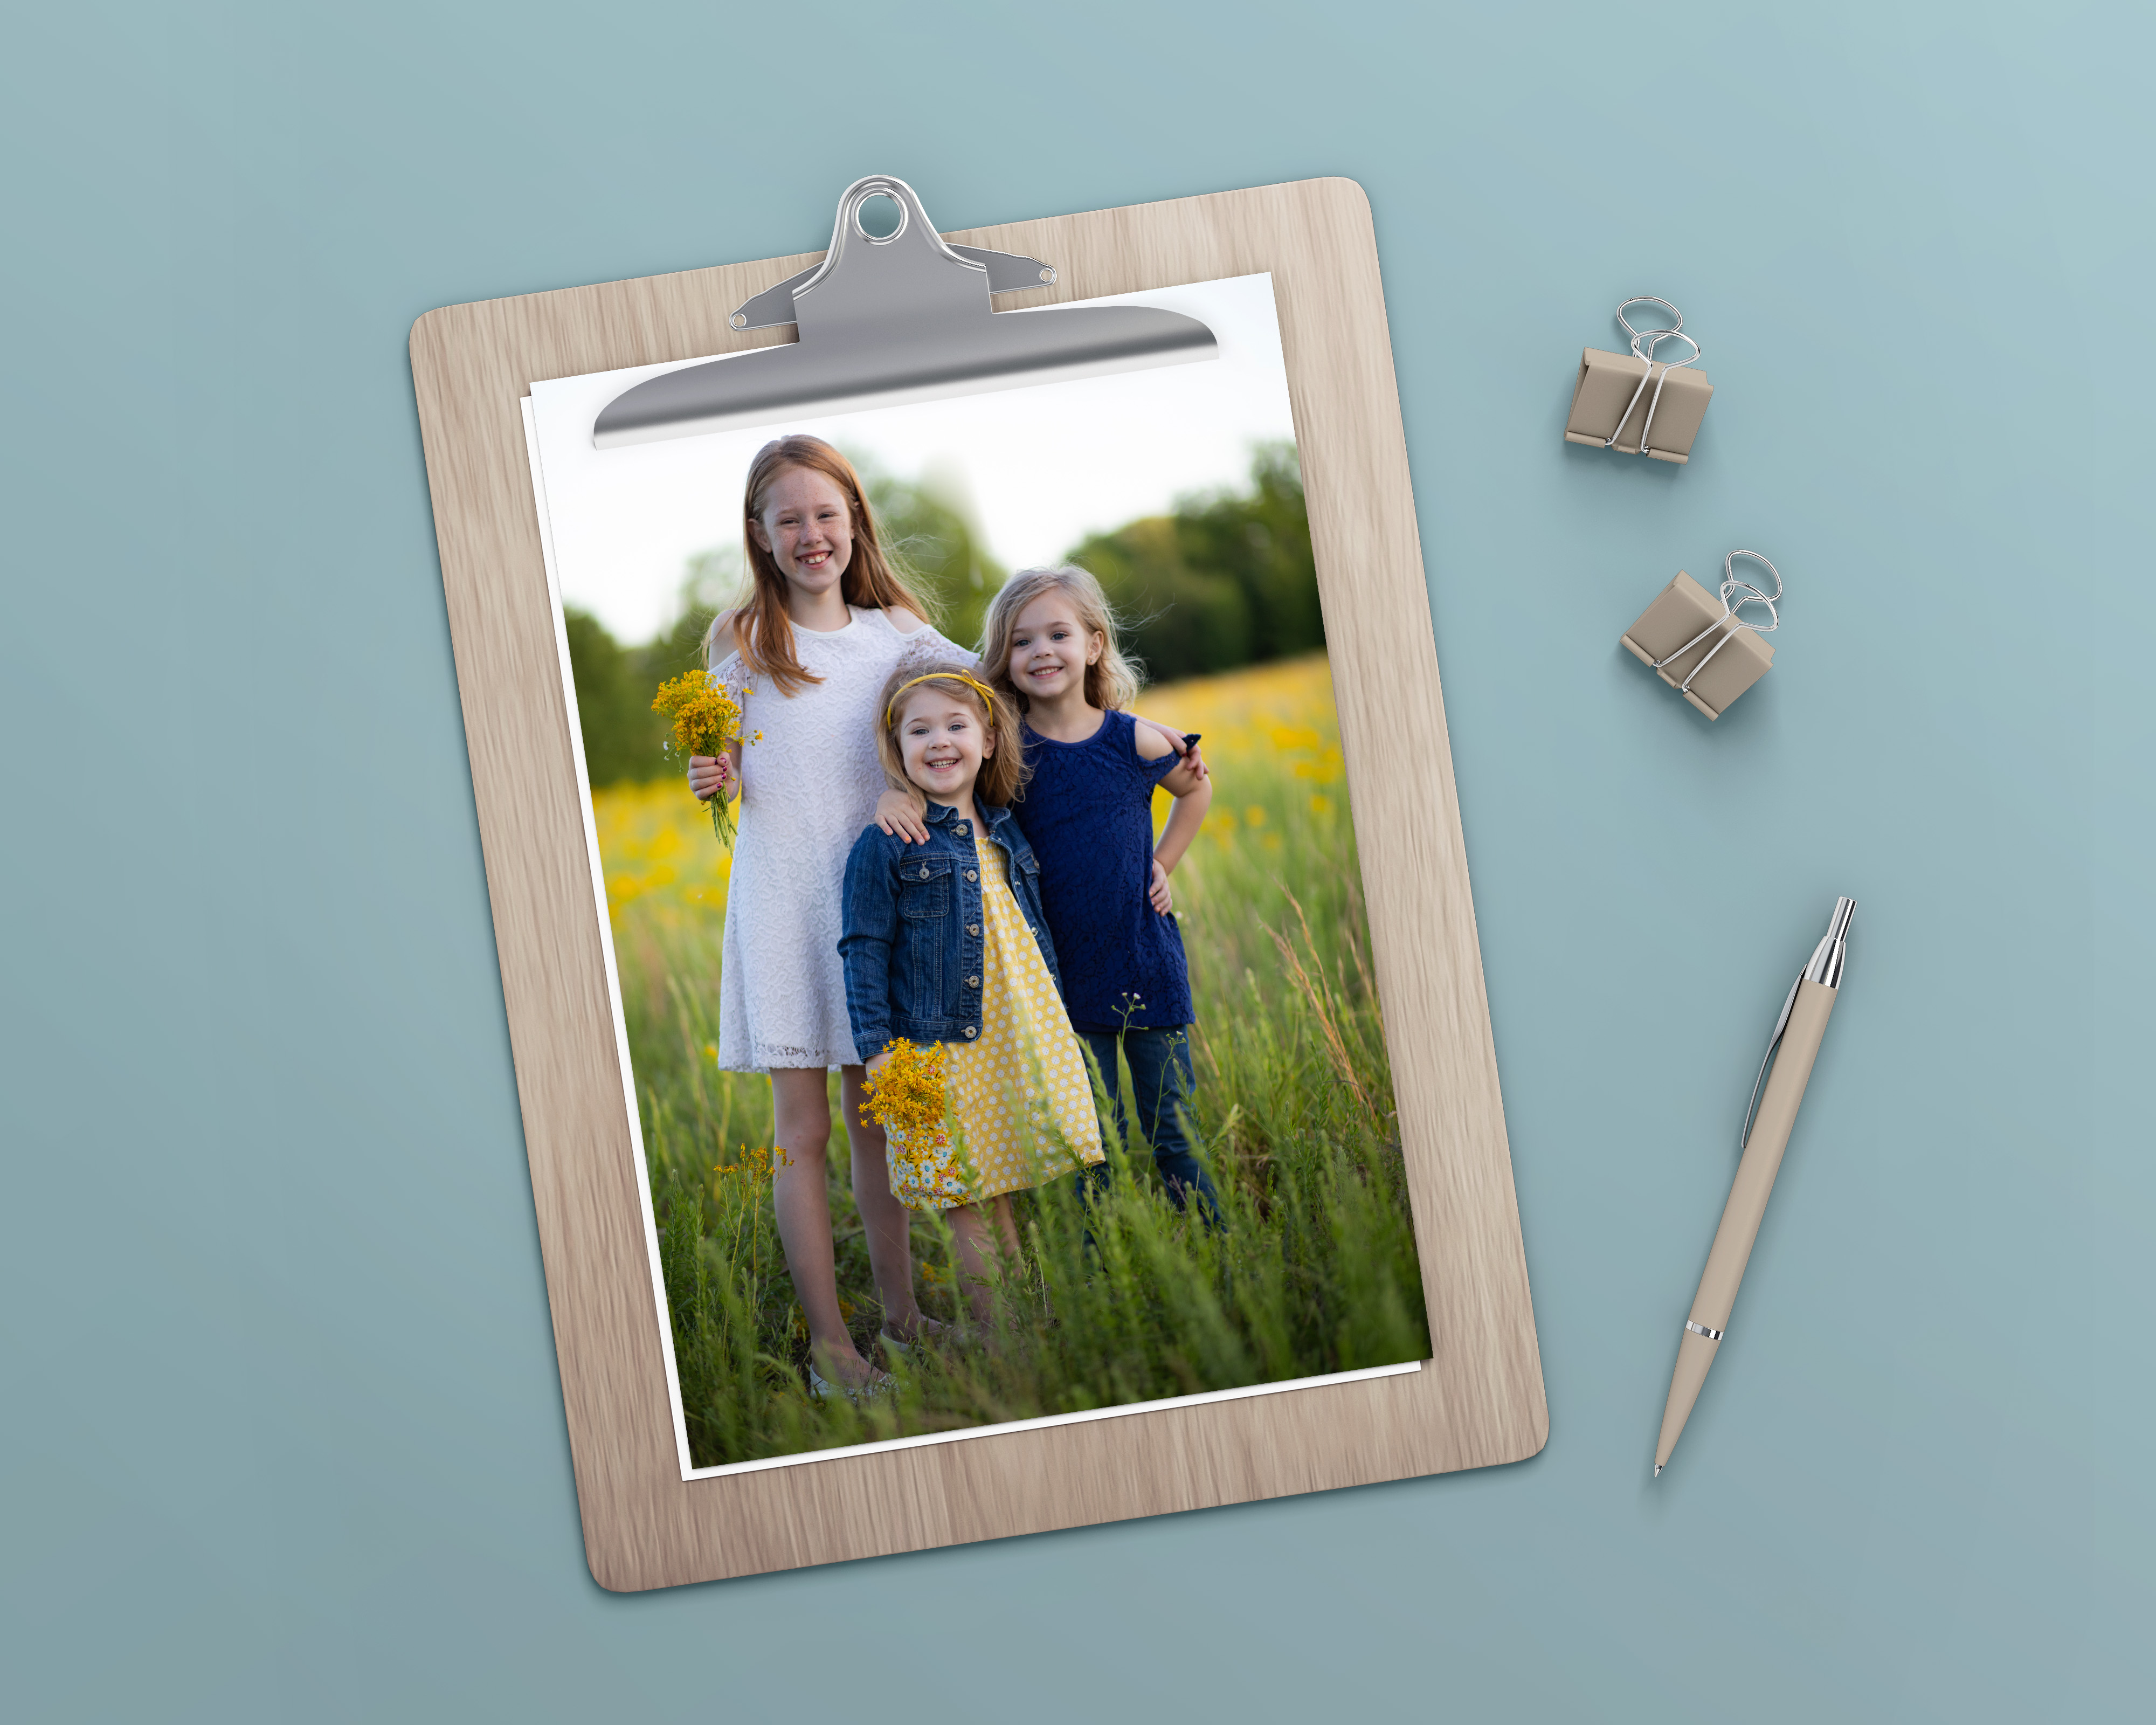
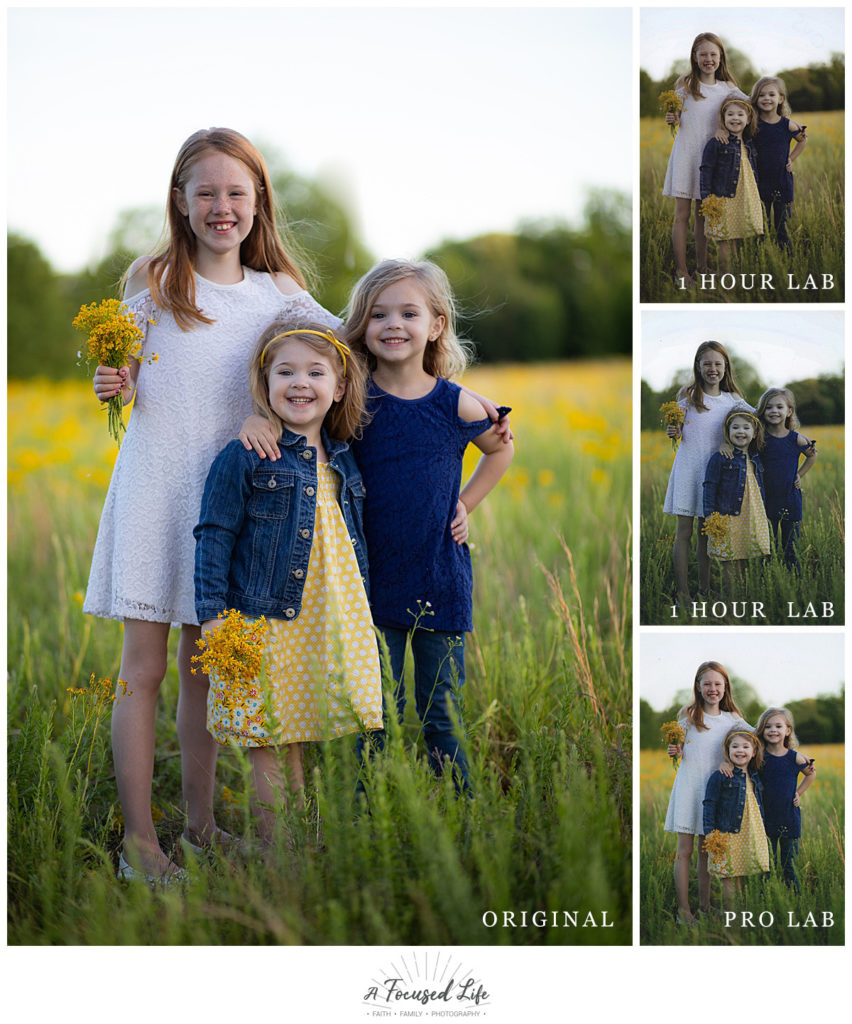
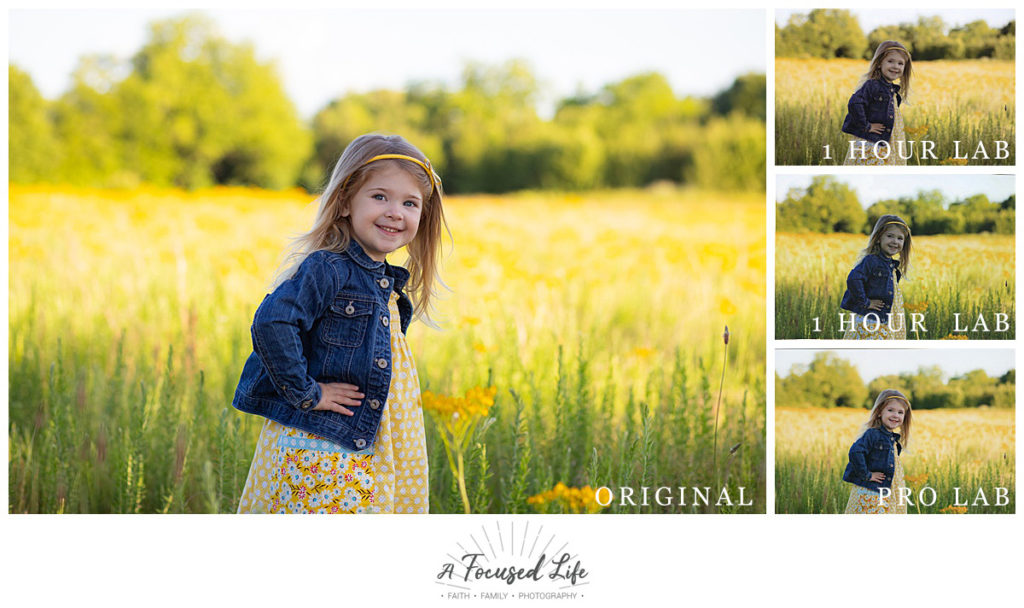
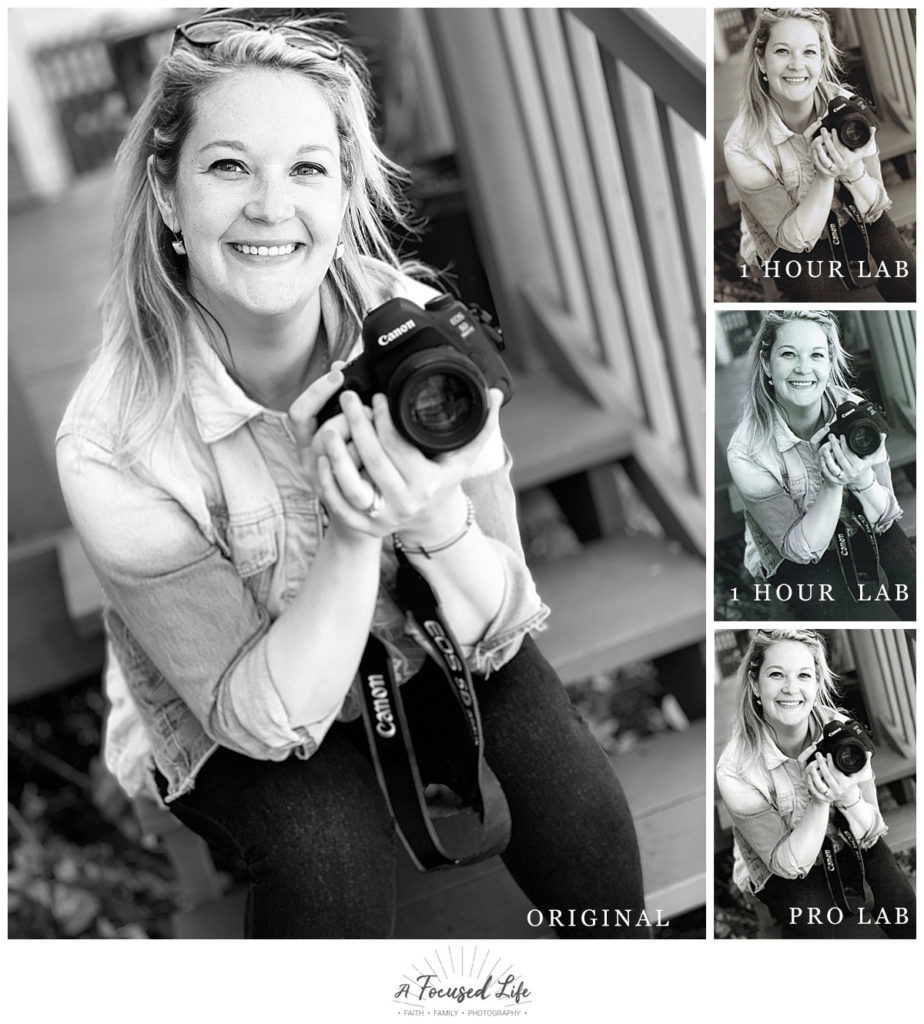
No lab is the same so, it was time to do a little research. We ordered the exact same images from 3 places. Two local consumer labs and our professional lab. We have not done ANY editing whatsoever, other than just scanning the photos onto our computer.
Obviously 1 hour labs are great for printing snapshots where you don’t really care about quality. Honestly, I ALWAYS get photos for crafts from a quick lab. But if you are going to spend hard-earned money on a great photo session that you can pass on to future generations, then why would you want them look awful?
On to the results!


Can you see the difference?
The 1 hour labs have color shifts for days, are too dark and just not good! Our pro lab prints came super close (if not dead on) to the original!
Why we care?
When Chris and I were in photography school, we were on the cusp of everything going digital. We consider ourselves extremely lucky because we were taught everything film and everything digital. Our color theory class was done on 35mm film. We had to develop and print in a color darkroom. When you see a photo darkroom on TV, there is always a red light. Well, that’s a black and white darkroom. A color darkroom has to be completely dark. No lights. Nada. Problem was there were 10+ people in there and when someone would leave a door open…well, it hurt!
We would print in total darkness then walk out to see what we had once our eyes adjusted to the light. We would look at our print and use nifty filters to see what color correction needed to be done. If it looked too cyan, we would look through a red filter. If it looked too green, you’d look through a magenta filter, etc. I say all that to say that we have spent hours upon hours looking for color shifts and how the correct them so when we offer digital images and get our clients birth announcement in the mail and it looks like the baby is a martian…it also hurts as bad as running into a door in total darkness.
We would love to discuss and help plan the perfect session for you and help you display your memories proudly! Click HERE to contact us! To stay up to date with all the most recent sessions and behind the scenes, click HERE and “LIKE” and also HERE to follow on Instagram!
NOTE: Lab results will vary based on location. If you do decide to still print through these labs, be sure to click on “do not color correct” so your print gets as close to the photographer’s work as possible. This is meant to educate and show our clients what we see on pro lab prints.
[…] With our Essential Lifestyle & Portrait Session, you will receive your gallery within 5 days of your session (because waiting is THE WORST). Your online gallery will include edited images where you choose your favorite 30 images for digital download and includes print release. The gallery also has a custom storefront available for 2 weeks for ordering additional products. You don’t have to order prints from us but there is a BIG different in our lab and others. Read our blog post here to see! […]